
Cooking Disasters by Lauren: Friendsgiving Friendship Sugar Cookies
By Lauren Peebles, October 28 2020—
Coming off a food-fueled Thanksgiving, most of us are probably wondering what kind of idiot would be thinking about food. In case you were wondering, that idiot is me and tonight I am trying something adventurous.
I did not get to go home for Thanksgiving, mostly because I have a healthy fear of driving across the Coquihalla Highway after it snows. However, I live with three pretty quality roommates and they had Friendsgiving with me because I could not go home to see my family. For Friendsgiving, we drank some mediocre Prosecco, ate some strange popcorn, dwelled on colonialism and baked sugar cookies. If you would also like to partake in a loving, but slightly atypical Friendsgiving adventure, please follow the recipe below.
Sugar Cookies
Here are a few things you need:
1 cup of white sugar
1 cup of butter (softened)
2 eggs
1 tsp of vanilla extract
2 ½ cups of flour
1 tsp of baking powder
½ tsp of salt
Cookie cutters (or a knife and your imagination)
Assorted food colouring
1 500mL tub of icing
Optional:
1 bag of popcorn (to snack on while you make the cookies)
1 bottle of wine (to share with your friends as you contemplate the ethical implications of this holiday)
Cookies
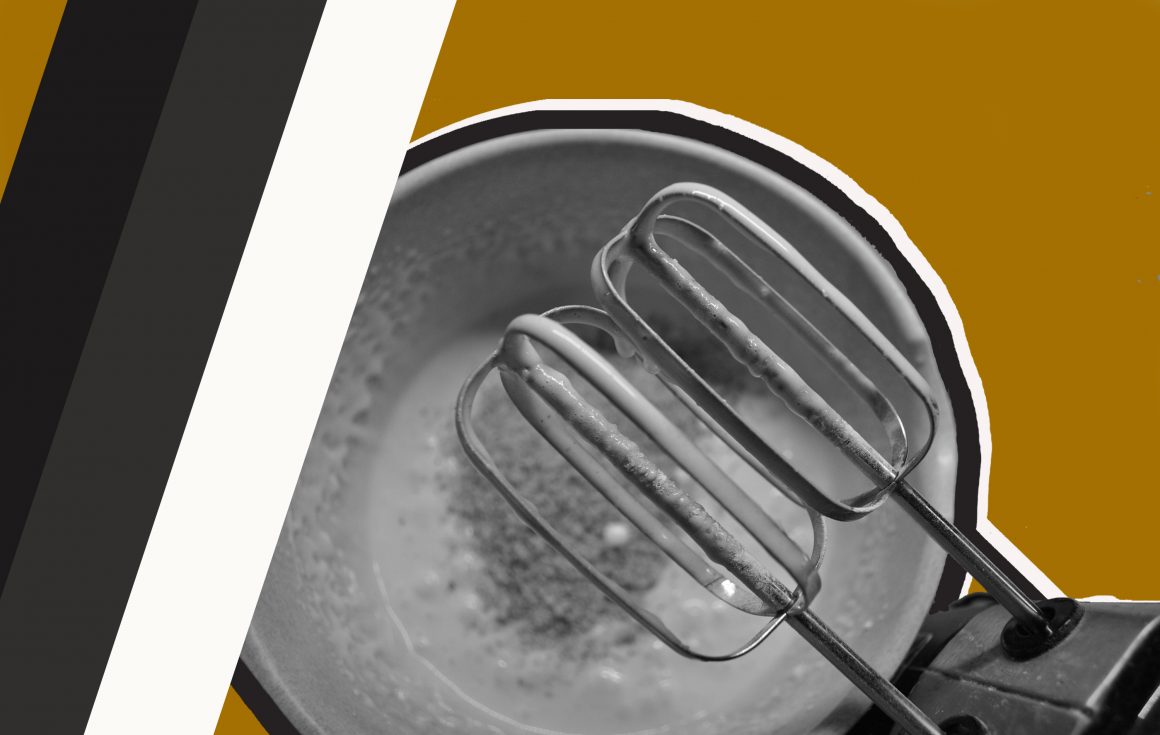
1. To make the dough, start by combining sugar and butter in a bowl. I highly recommend softening the butter as it is very difficult to mix otherwise. Our house does not have any sort of power mixer, so I recommend using a spoon unless you are financially stable enough to afford an electric mixer.
2. Add the eggs and vanilla into the bowl (preferably cracked, but eggshells add a little crunch to the cookies if you want to give it a go).
3. In a separate bowl, mix the flour, baking powder and salt.
4. Add the dry ingredients to the wet, and mix with a spoon.
5. At this point, you may be asking yourselves why the oven has not been preheated. My roommates and I also wondered about this and promptly turned the oven on to 400 0F.
6. If you read the instructions properly, you may figure out, as we did, that the dough needs to chill for an hour in the fridge. This means that you do not need to turn on the oven as we did. I recommend turning the oven off at this point and reflect on why professors, teachers and parents always tell you to read the instructions first.
7. After one hour, pull the dough out of the fridge. I recommend being slightly more responsible than I was when making this recipe. My roommates and I started baking these cookies at 8 p.m. I do not recommend this as you will be up until 11 p.m. decorating cookies, having a hysterical time with your friends and thinking about how sleep deprived you are going to be the next day.
8. Clean off a reasonably-sized surface (I also have no idea what that means), and put one cup of flour on the surface. Trust me, you are going to need it. You can now turn the oven back on to 400 oF.
9. By this time, you and your friends have probably finished drinking that bottle of wine. If you are like most university students, you probably do not own a rolling pin. I recommend using the empty wine bottle as your rolling pin. Flour your “rolling pin” and roll the dough out to about ¼ inch thick.
10. Use cookie cutters to cut shapes into the dough. My roommate picked up the cookie cutters, but they only had “feminine cookie cutters”. While you use the dress and castle themed cookie cutters, contemplate the relative necessity of having gendered cookie cutters. If you do not have cookie cutters, use a butter knife to make way cooler designs that do not involve castles and dresses. I used the knife to make a chicken-shaped cookie.
11. Arrange the cookies on a baking sheet. I highly recommend using parchment paper if you want to eat cookies and not charred remains of them.
12. Bake for six mins. I think best to air on the six min side as we had one batch that was in for eight minutes and became extraordinarily crunchy.
Icing
1. Grab five of your favourite mugs, and split the tub of icing between each one, evenly. If you do not have five mugs, use five containers you can reasonably microwave.
2. Microwave each (individually) for 10 seconds. DO NOT DO MORE THAN 10 SECONDS. Speaking entirely from experience, 15 seconds in the microwave turns your icing into a useless, liquid mess.
3. Add food colouring to each to get your desired colour and mix with a spoon.
4. Decorate your cookies to your preference. My roommates highly recommend opening another bottle of wine at this point, but I’ll leave that up to your discretion.
When you are done, you will likely have the following:
– 35(ish) unique cookies masterpieces
– A better understanding of why thanksgiving is an ethically dubious holiday
– Roommates who are becoming your friends
Until next the next cooking disaster,
Lauren